Monday, February 14, 2011

Light pipes via transparency

Inverting some previous builds I've been embedding a transparent band within opaque parts, such as these Puzzle Sphere pieces. The transparent band can act as a light pipe. There's another picture here of the assembled puzzle.


Similarly I built a batch of various Marble puzzles with embedded clear bands.


Here's one piece on a light table, showing how the clear band transmits light.


When two pieces are assembled into a Marble, the clear band in one piece transmits light through the other.


Here's an unrelated part I happened to build at the same time. It's a purely mechanical part, but it also includes a transparent band because the SD300 was building it with the same materials as the Marbles. The color-change doesn't affect the strength of the part.

Sunday, February 6, 2011

Diamond by Bre Pettis

Yesterday Bre Pettis shared a simple diamond shaped STL.

I'm working on a puzzle-themed pendant for holding gems, so I build Bre's diamond for reference.


Although it doesn't sparkle like a real gem, the transparency and internal angles catch the light very attractively on a light table.


Here's a picture of it beside several of my test models for the gem pendant.

Sunday, January 30, 2011

SlideTab in 3D

In January, Chris K. Palmer shared on Thingiverse specially-developed tabs to enable paper templates to be folded and joined together into 3D objects. It's also described at Shadowfolds.com. (I've previously featured a selection of his Sphericon models.)

Could the concept be translated into 3D models representing the same flat surfaces with slots, tabs, and hinges? At the very least, could it be made compatible with SLS?


I started my efforts by adapting the flat squares that can be assembled into a cube. It eventually worked, but only after I'd reduced the maximum wall thickness to 0.6mm. The hinged tabs required thin spots less than 0.2mm thick, too thin for reliable production by SLS.


Next I adapted the triangle models, which could be assembled into a tetrahedron (pyramid), an octahedron, or an icosahedron. But these required excessively-thin walls, like the cube, so the STLs aren't very share-able.


His "hat" models required even greater flexibility, and hence even thinner walls. It takes a lot of flexing to interlock the tabs.


Here's a partly-assembled Rabbi's Hat model.


It's not very dignified, is it?


So I didn't really meet my goal. The STL files are buildable in LOM because it can exploit the inherent strength of the unbroken source material, but the models aren't portable to other 3D printing processes. An SLS machine could build the individual parts (with careful handling) but I doubt they could be assembled.

Tuesday, January 18, 2011

Bacteriophage by LMDM

Here's an excellent work by someone else:

The Laboratório de Material Didático Multimídia encourages the use of multimedia to promote science education in Brazil, particularly materials sciences. In 2010 they acquired equipment for building solid models including CNC mills, RapMan (from BitsFromBytes), and a Solido SD300 Pro.

Illustrated here is a bacteriophage they assembled on their SD300, using source data created in Google Sketchup!


The model was built as a flat sheet only 5 layers thick, yielding parts that are then folded and glued together.


Consistent with LMDM's philosophy, they produced an animated video that graphically shows viewers how to assemble the bacteriophage model.


Naturally they've posted a YouTube video showing the whole process of building the model, the assembly animation, and the finished model.

Sunday, January 16, 2011

Multi-color 3D printing video

I posted an HD video that illustrates multi-color builds with the SD300...

YOUTUBE: SD300 Pro Multi-color 3D Printing

The thin model in the video is an adaptation of Chris K. Palmer's Slide Tab Polygons that I'm trying to convert to STL. It's 0.5mm at its thickest point, 0.18mm at the thin hinges.

Here's a lower-resolution copy of the video in case you can't access it on YouTube...

Saturday, January 15, 2011

SDPause, a utility for pausing at specific layers

I've been building a lot of multi-color models by swapping out material kits at strategic times during the SD300 Pro's build process. The software didn't allow me to schedule when the machine would pause, so it originally required me to watch the machine carefully.


For my Rox Box model, I built the model upside down starting with the transparent layers first. Once the machine had finished building the transparent 'window' I swapped in the white material and let the machine build the rest of the model. That was simple because I only had to switch materials once.


But Oskar's Cookey Tribute puzzle was over 600 layers thick, and it took almost 30 hours to build because I was building multiple models at the same time. The model entailed multiple color-transitions, so I doubted I would be able to manually intervene at all the right times. I needed something automatic!


So I created a computer program SDPause that watches the SD300's build progress and automatically pauses whenever it reaches the layer entered in the box. That ensures the machine will pause whenever the model requires a different color material. Even if I'm not home, it will pause and wait for me to change the material and manually resume.


Email me if you want a copy of SDPause; my contact info is listed in my profile. SDPause should work with the original SD300, SD300 Pro, and Invision LD.

Some things I've learned about switching material kits:
  • I generally change the glue cartridge with the PVC roll so the materials will be consumed at a predictable rate. This also ensures the installed cartridge always has sufficient glue for whatever PVC roll is installed.
  • I generally don't change the Anti-glue cartridge and pens. Instead I just replace the Anti-glue cartridge when the default material kit needs replacement, or if support material doesn't peel away easily. The machine won't suddenly run out of Anti-glue, unlike the main glue supply.

Thursday, January 6, 2011

Building a custom packing insert


I wanted to ship the parts from my previous Torus project, and they fit very neatly into a small flat-rate shipping box. But I was worried adjacent pieces might slip under each other if the box was bumped, since they're slightly wedge shaped. That could cause them to puncture the container.


So I designed a thin, hinged packing spacer and built it on the SD300. It's less than a millimeter thick, so it barely used any material.


The spacer emerged from the printer in a flat shape, but easily unfolded to form two channels would would keep the parts from overlapping during shipping.


The spacer divided the parts perfectly without occupying any space in the box. I'll probably build custom packing material like this for future shipments, since the material is thin, flexible, and strong in this format.

Saturday, December 25, 2010

Frivolous Christmas!

All the kids are grown up, so my folks host a white-elephant gift exchange where the whole family brings a lot of unmarked gifts and we take turns picking and unwrapping. Many of the gifts are genuinely desirable items (eg: Roomba, a camera, etc.) but we try to have silly, fun gifts warpped in imaginative or frivolous ways. For example, I bought Hamasuta the Happy Hamster from American Science and Surplus. This motorized "hamster" scrambles around in its clear plastic ball, much like a real hamster.


It looks rather like a coconut when the ball is wrapped in tissue paper, so I decided to put misleading hints on the box to suggest it really was a coconut.


I boxed it in one of the transparent Puzzle-box Gift Cubes I'd built on the SD300 so the coconut-shaped tissue would be visible, and added a humorous label to imply it's just a coconut.


Another example of the family's theme of fun & silliness is this box whose attached card includes a drawing of an "inflamed colon." The inset shows it's just a play on words, not something gross!


The family reassembled my gift-cube boxes with the colors mixed in a peppermint-candy color scheme, which fits the holiday theme. I wish I'd thought of that!

Tuesday, December 21, 2010

Puzzle-box Gift Cube


While using the SD300 to build some packaging I was inspired to build a puzzling group of six-piece boxes, which are held together solely by the interlocking tabs. I posted the files at at Thingiverse.


There are six parts to each cube, so I designed a variant that has six stacked parts that build all together at the same time.


The stacked version emerges as six parts, each separated by a single uncut layer of support material.


The boxes can be scaled down to smaller, thinner sizes. However the smallest box is impractically thin: with walls only 0.34mm thick, the parts are so flexible that it was almost impossible to assemble!


With effort I've managed to pack gifts inside some of the boxes, packing the excess space with tissue paper to disguise the contents. It's a novel presentation, and a bit puzzling to take apart.

Thursday, December 16, 2010

Sphericons


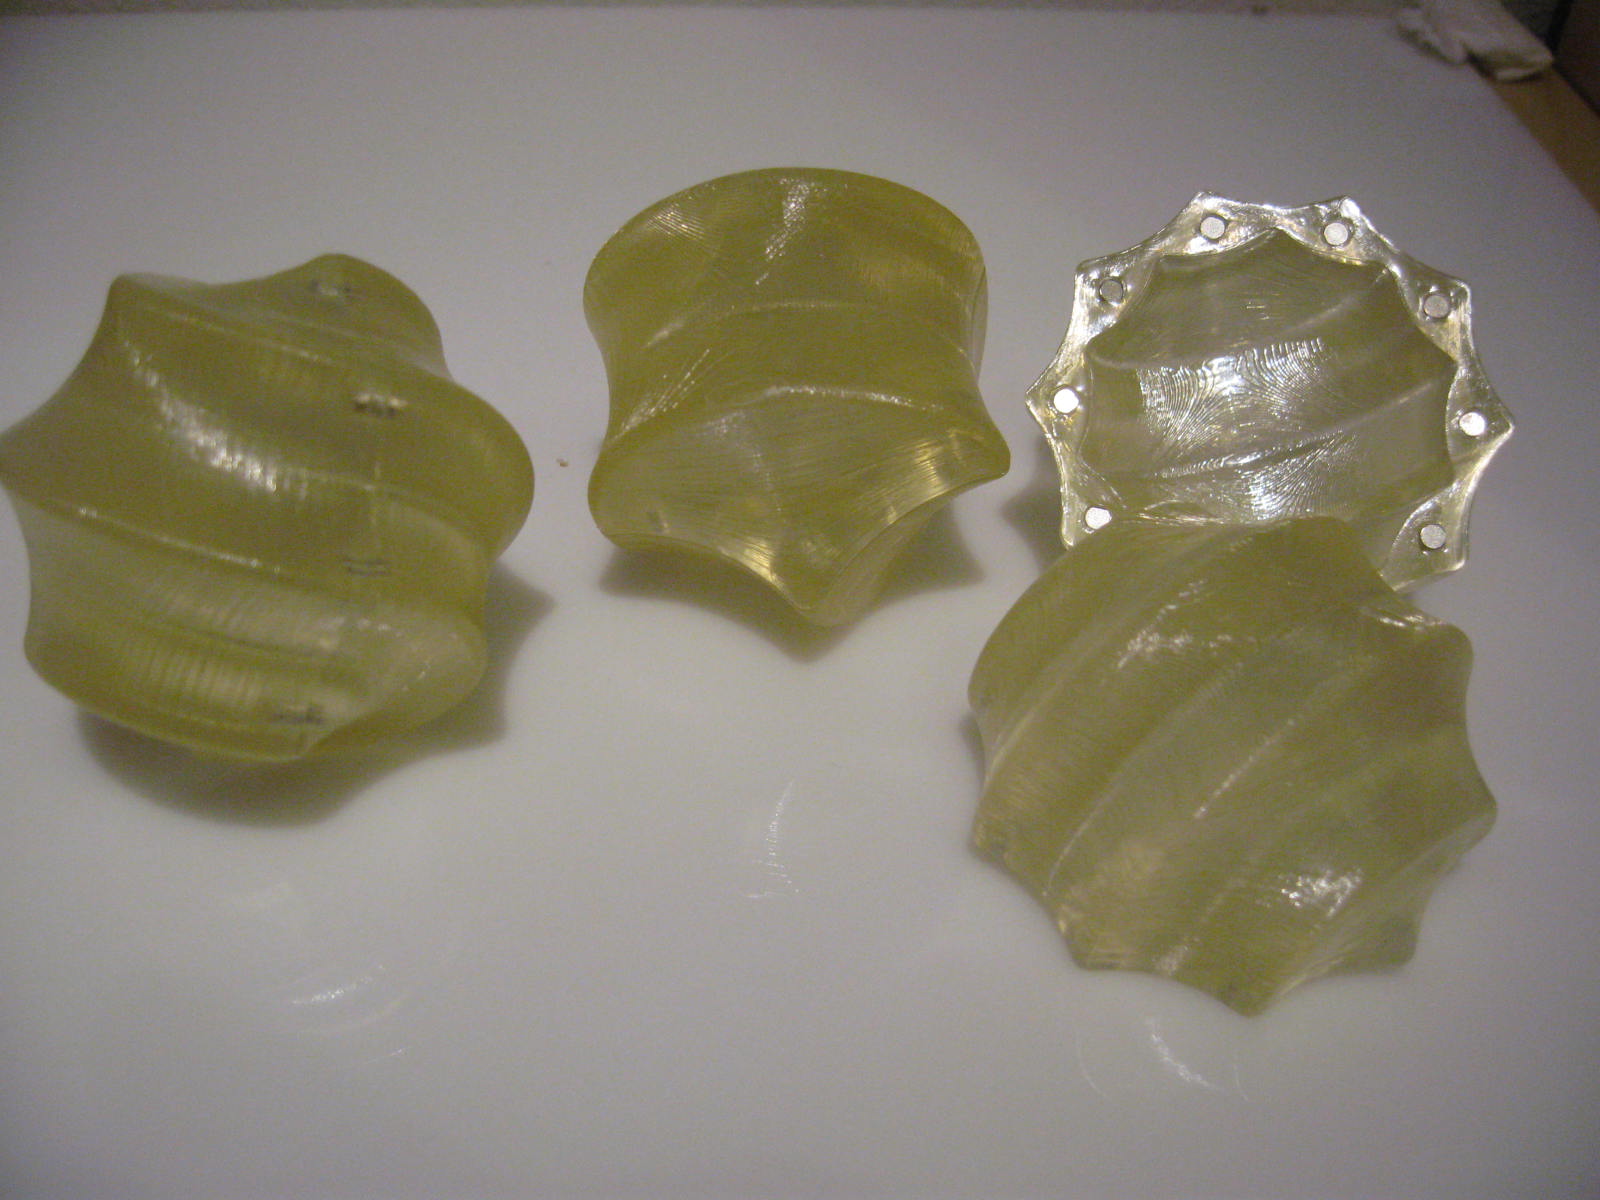
Chris K. Palmer modeled these novel Sphericons based on a mathematical discussion by Colin J. Roberts and Paul J. Roberts. His models included 4mm holes to accommodate widely-available 3.2mm magnets (like these) plus glue to cement them into place.

I scaled to model to 75% so the holes would be 3mm, slightly smaller than MagCraft N5NO566 disc magnets (3.2mm x 1.6mm). The resilient PVC material had sufficient 'flex' to permit the magnets to be forced into them.


Once the magnets were installed, I briefly soaked the parts in PVC welding solvent.


The solvent caused the PVC material to return to its square-ish shape around the magnets, securing them neatly in the holes.


The magnets allow the pieces to be paired to form round, solid objects. The pairing on the left can roll in a straight line, whereas the pair on the right can roll in a circular path.


But the same pieces can be paired so the curves look quite different. These pieces can be rolled along irregular paths.


Here's how the sphericon at left would roll. It follows a straight path with an occasional backstep.


And here's it's counterpart, at right in the previous picture. Its path is a bit more crooked.
Saturday, December 11, 2010

What's a Torzle?


George Bell drew my attention to a puzzling twisted torus artifact, described in detail by George Hart's web page where he shares pictures of various specimens and some history.

I built a large set, pictured above, and two smaller sets of parts. With the smaller parts I arranged the peeling cuts in a serpentine fashion, so the material peeled away in a long snake-like path.


I added splashes of color to the smaller parts by changing material during the build process.


Here the two batches of miniature parts are linked together serially.


Here's a comparison between the sizes of the large and small model batches.

Wednesday, December 8, 2010

Adding color with Painted interiors

Oskar's original Cooksey Tribute puzzles were opaque and colorful, but the replacement I built was transparent and colorless so I chose to paint the interior surface of the cylinder.


I poured bright acrylic paint inside the cylinder and gradually tipped it so the paint gradually flowed into all the nooks.


The finished cylinder is now brightly colored. The ring piece is still transparent so the user can see through it while trying to solve the maze.


The maze is fairly challenging because the opposite sides of the ring must navigate the maze on opposite sides of the cylinder at the same time. After solving the maze, the ring rests neatly at the base of the maze cylinder like this.