Monday, May 31, 2010

3D-printed decals and tiles

The SD300 is uniquely well-suited for making decal-like tiles of any arbitrary shape and thickness. When cut into thin tiles, they emerge from the SD300 still attached to the foundation layer like the picture below. So thin, it's clear and colorless.


I printed several sheets of square tiles and left them attached to the support material while I painted the exposed side. The support material acted like a perfect mask to keep the other surfaces clean.


The tiles look brilliant and glossy with the clear side facing outward, and the color visible through the clear material. I built some puzzles with cavities to accept the tiles, which fit so perfectly they didn't have to be glued: they just snapped in to the cavities. The SD300 built everything in this picture, including the painted tiles.


I built a thinner set of tiles for this hand-customized puzzle. These are only 0.33mm thick so they're not much thicker than standard decals, but they look and feel more professional than ordinary decals. I printed the puzzle name Cube 321 on the back side of one of the tiles before painting it, as described in a previous blog post.

Monday, May 24, 2010

Monday Cleaning

I installed an LED spotlight beside my SD300 to illuminate the interior. A spray bottle of isopropyl alcohol and a handy roll of towels make it convenient to clean the table after each build.


Once a week I give the machine a more thorough cleaning. It's quick and easy, so I made it a habit. For convenience I use SDMove to move the cutting gantry to the back of the cabinet, out of the way.


Although harsh, the intense light makes it easy to check on a build and it highlights any dirt or contaminants inside the machine.


Normally the ironing bridge is parked at the near end of the machine. Pushing it back exposes the glue trap, a small trough that collects any glue left over after ironing the layers together. The "glue" is actually a heat-and-pressure activated solvent that helps melt the PVC sheets together, but doesn't leave any residue on its own. So it can be cleaned by simply misting with isopropyl and soaking it up with a towel.


The build pad is ordinarily held in place by its magnetic backing. This is the only part of the machine that makes contact with both PVC sheets and the glue. It's remained in good condition but it'll eventually need replacement. Build pads are inexpensive (about $25) and I've already got spares.


All told, cleaning took about 3 or 4 minutes.

Sunday, May 23, 2010

Draft build

The SD300 offers a option called draft build which saves time, but effectively reduces the Z-axis resolution. It skips the anti-glue masking step for every second layer, which requires the skipped layer to be cut exactly the same as the previous layer.

For simple 2D extrusions or other parts where Z-axis resolution doesn't matter, the draft build option can save time without sacrificing part quality. These tiles, for example.


The tradeoff of using Draft mode is that the support material is bonded together in thicker sheets, which makes it stiffer and harder to peel away. This can cause 4 layer-thick regions where Z-folds are linked (almost 0.7mm thick). The Draft option can make it more difficult to peel material away from intricate 2D shapes, like these gear teeth.

Friday, May 21, 2010

Unfeed error?

I ran a build overnight, but it didn't finish. The software had estimated there was sufficient media, but this morning the display cryptically said "Unfeed error." That's a new one.


Curious, I tried to open the media door but something was blocking it. I raised the top cover and looked into the media area and saw something I hadn't seen before: an empty PVC roll lying crookedly in the door hinge. In itself, that would be easy to fix.


I removed the obstruction and the door opened normally, revealing yet another unusual sight. The machine had reached the end of the roll and had apparently pulled a folded-and-creased piece of PVC into the feeder, which was now jammed internally. The feeder had lifted the empty cardboard roll entirely off the rollers and it had fallen into the door hinge.

I cut away the sheet and inspected the roll. It was folded but the crease didn't run all the way to the end of the sheet, which meant it must have been folded after it had unrolled. (The entire fold would have been solidly creased if it had been folded when the roll was manufactured.) No doubt the SD300 didn't recognize the end-of-roll condition, and it got twisted when the roll fell.


There was still PVC jammed in the media feeder, so I selected "un-feed media" from the front panel. It still couldn't eject the sheet, so I carefully tugged to overcome the resistance while permitting the machine to feed the sheet at its own speed. It was easy to see why it was so hard to eject the sheet: it had been folded over so tightly that the thermoplastic PVC had fused into a thick bead on one edge.


The log seemed to explain everything. The SD300 hadn't recognized the low-media condition and thought the roll had several meters of material still remaining. But it recognized the feeder had pulled in the wrong amount of PVC, so it ejected it and attempted to feed it again. That would probably explain how the roll got lifted and dropped again.

Despite the error, the machine prevented damage to the model. It continued happily after I cleared the feeder and refilled the materials. The finished parts were perfect.

Tuesday, May 18, 2010

2x2x1 Summary

Although my 2x2x1 puzzle isn't a particularly interesting puzzle, it's been a valuable experimental tool. I built a hollow version to verify the model before uploading an update to Shapeways and was stunned at how attractive the transparent parts were!

I'm moving on to my next project, but I will undoubtedly come back to this model when I want to experiment. It's a simple model that I can build quickly and cheaply whenever I want to test a new fabrication or finishing technique.

I shared the puzzle at the TwistyPuzzles forum and received some positive comments. It can be purchased from Shapeways in SLS nylon, so I posted a video that explains how to assemble it.

Wednesday, May 12, 2010

2x2x1 Featured at Shapeways

I was surprised to discover Shapeways put my Minimis 2x2x1 puzzle model in the Featured Models section on their homepage where anyone might stumble onto it and purchase it. I sure hope I uploaded the right version of the file!

The 2x2x1 concept is so simple that plenty of designers build it as a starter-puzzle; indeed there are five other variants on Shapeways besides mine. But apparently mine is unique in using only four pieces without screws, pins, or other parts.

Remarkably, two other designers have already asked permission to adapt the mechanism (including one designer whose 2x2x1 model has been listed for many months at Shapeways). This was a learning exercise and I always intended to share it with the puzzle community, so this was very satisfying.

Sunday, May 9, 2010

More spheres

I received lots of suggestions for my Hemi-Demi-Sphere and Hollow Demi-Sphere models. Friends suggested I add more curvature to the pieces, like seams on a tennis ball. I liked the idea, but initially I assumed it would make the model unsuitable for building on MakerBot-like machines. But my SD300 could build them, so I designed three models with varying degrees of curvature.


The model with the deepest curvature had a knife-like edge where thin layers converged in a long narrow taper less than a millimeter wide. Maybe the AntiGlue gets between the layers in thin areas, preventing them from bonding solidly. In any event I damaged this part by peeling the support material away in the wrong direction, blissfully unaware of the weak area. On subsequent parts I peeled the waste material in the opposite direction, avoiding such damage.


I repaired the damaged part by first rinsing it in isopropyl to remove any remaining AntiGlue film. Then I soaked it in Weld-On 2007 for 10 seconds to soften it and pressed it against a sheet of silicone-coated baking parchment to anchor the layers down flat. After the solvent evaporated the part was better than before because there were no loose edges. It's noticeably shinier where it was dipped in the solvent. (Later I sprayed the parts with a fine mist of solvent to give them a consistent finish.)


The profile at right shows the slight taper on the part with the least curvature. This one snaps together easily, but holds together quite securely. And the hollow center provides a place to hide nifty objects. (Gems?)


The sphere with moderate curvature required a lot of pressure to squeeze it together. Taking it apart takes a bit of effort, too. The PVC is fairly rigid at this thickness, but it flexes nicely.


The sphere with the deepest curvature took a lot of pressure before it went together with a solid "Snap!" I haven't been able to get this one apart again so far. I don't imagine it would work with rigid plastic.

Saturday, May 8, 2010

Oops. My first failed build.

I left the SD300 running a build overnight, but this morning I found it had run out of material when it had just 5 layers left to build. I decided to change just the PVC roll and let it finish the build while I took a shower...and I intended to replace the rest of the material kit later (glue, AG cartridge, pens). The build completed okay, but later I started building another model without remembering to replace the rest of the consumables.


I left the machine running the second build while I went about my daily errands. While I was shopping I suddenly remembered that I hadn't replaced all the consumables, so I drove home hoping I could stop it before it ran out of glue or masking fluid.

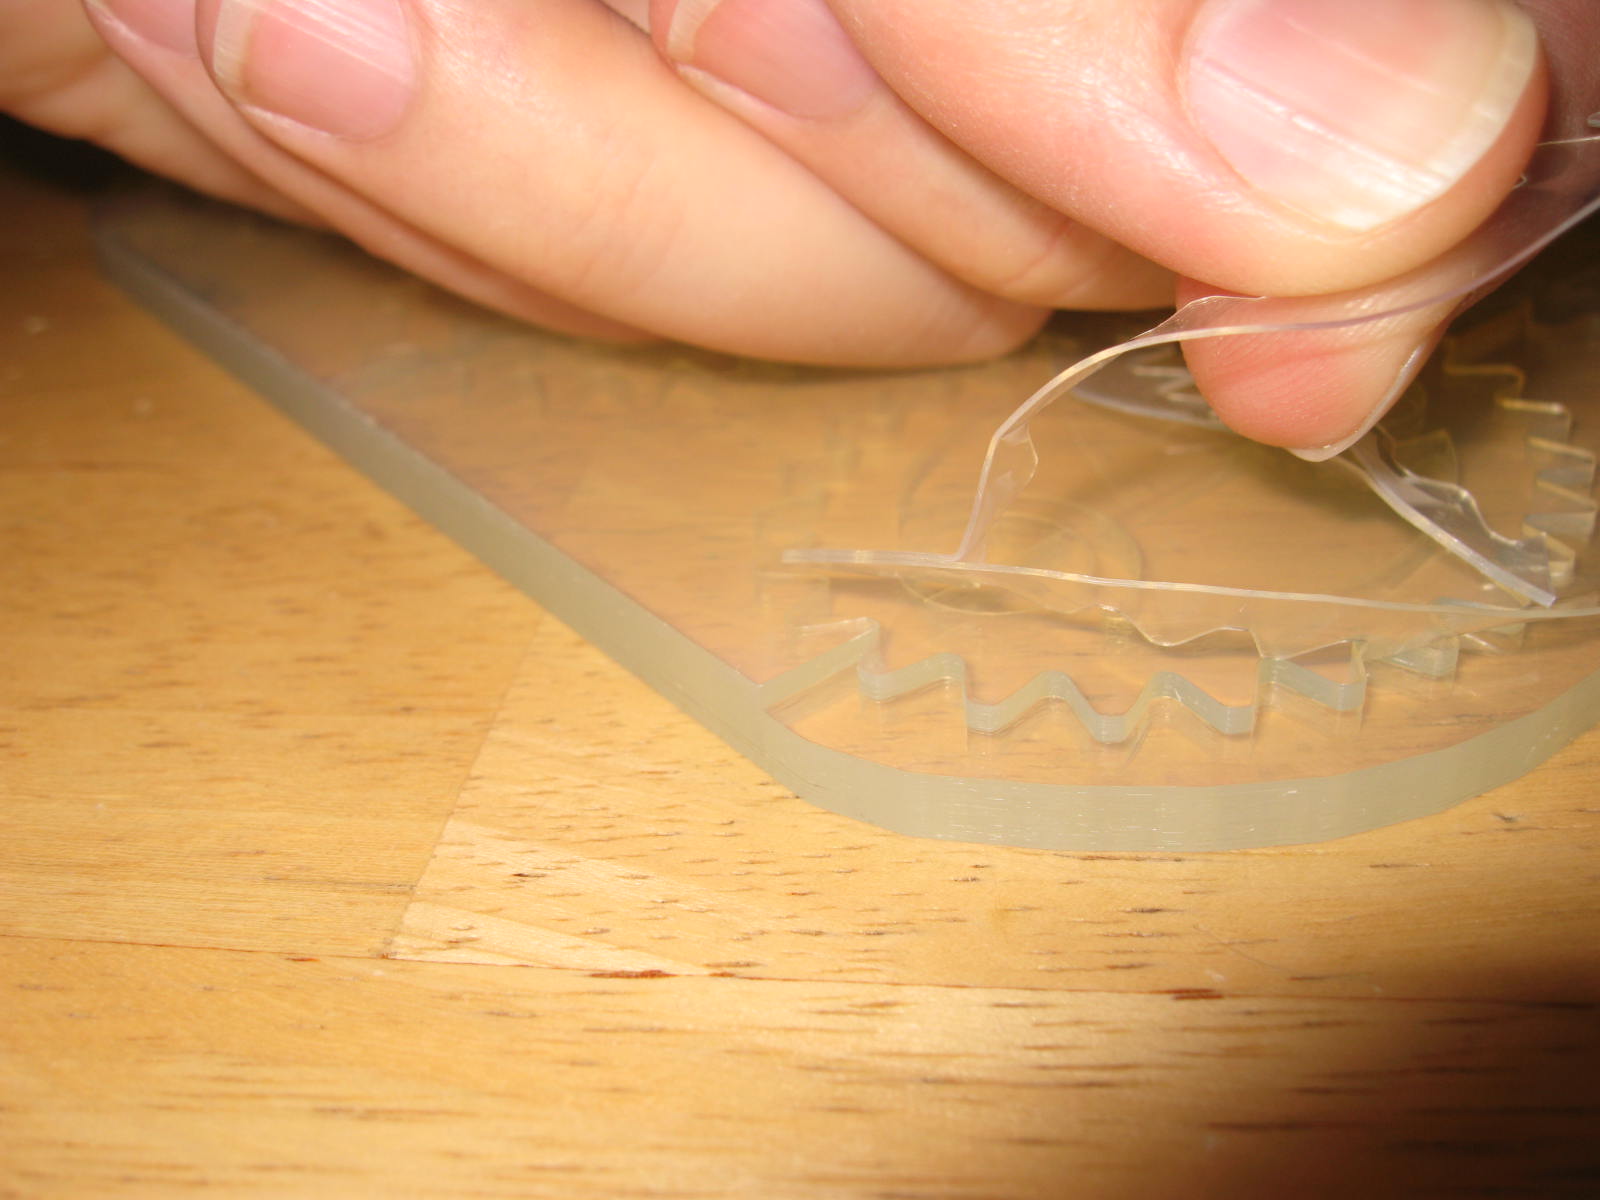
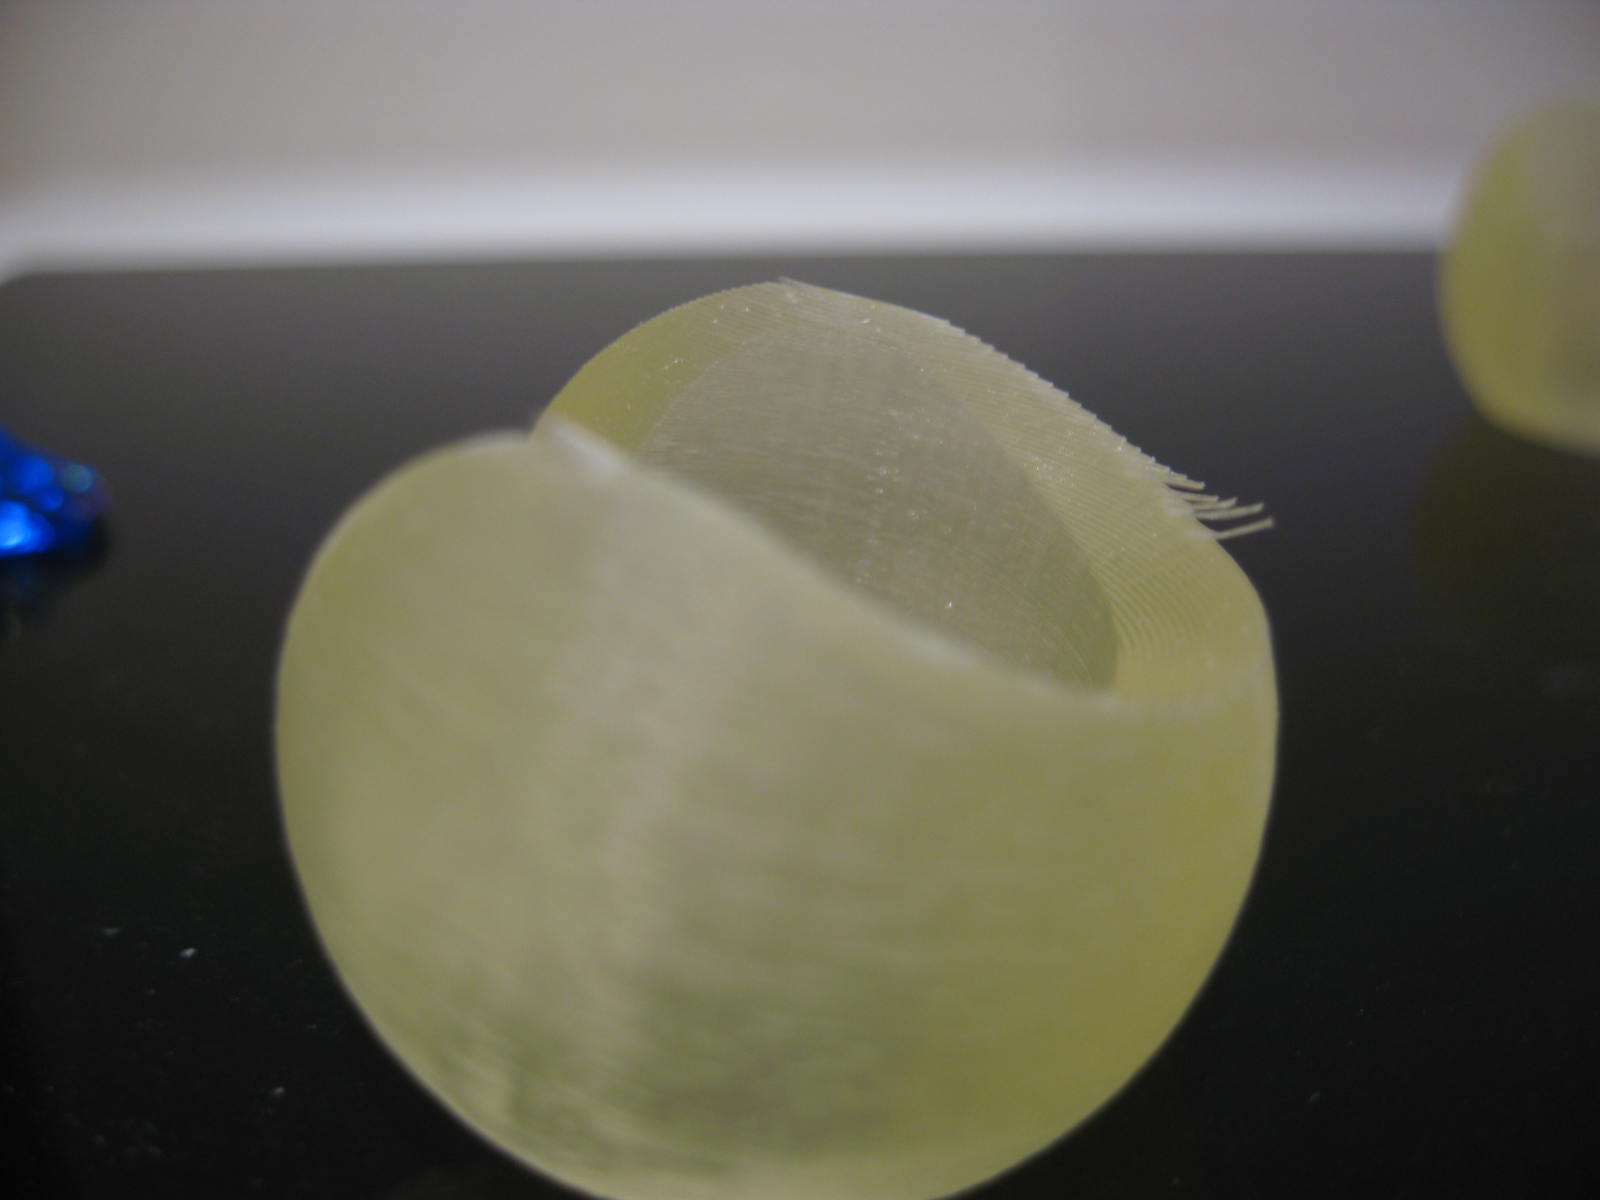
Too late, I found the machine had stopped after building 137 of the model's 200 layers. The last few layers were barely bonded with inconsistent splotches of glue, and the last layer had simply come apart during cutting and masking. The machine was unhurt, but the model was ruined. (Everything worked fine after cleaning, replacing consumables, and purging the system.)


The SD300's log suggests it was able to cope with the diminishing supplies until it reached layer 137, at which point the machine began detecting problems. Typical layers are about ~167 microns thick, but layer 137 measured only 104 microns because the last sheet had come loose. Recognizing an aberration, the machine spent half a minute re-measuring the layer again and again, eventually logging (in colloqual English) "Checked delta is 103micron, not good."

The machine tried to compensate and finish the model anyway, increasing the number of layers to compensate for the abnormally-thin material. But the layer began to come apart during cutting, and an AntiGlue pen snagged on a loose shard during masking. The machine paused itself and reported an error, awaiting an operator to decide whether the model could be salvaged.


I plan to assiduously avoid repeating this mistake in the future. Aside from ruining the model, running out of glue probably poses other risks because the model could disintegrate and drop debris into the machinery.

Luckily the machine had stopped promptly when this model came apart. Cleaning up was made considerably easier by Solido's SDView utility, which gives the operator direct control for maintenance. After this incident I needed to lower the build table to clean away loose bits of plastic, purge the glue system, and clean the glue trap.

Monday, May 3, 2010

Novel decompositions of a sphere

Paul Wasson (of LaserMego) called my attention to OpenSCAD, a mesh-creation language that can create STL files using programmatic scripts. Experimenting with it I created a novel bisection of a sphere.


It can also be used as a container because the two pieces snap together. It avoids the 'flat' spots often associated with 3D printed spheres because the exterior surfaces are made with sidewalls only, no upfacing or downfacing surfaces.


As a further exercise I adapted the concept to homebrew modelers like the MakerBot CupCake CNC by dividing it into four pieces. Although the CupCake can handle moderate overhangs, the division enabled me to entirely eliminate overhangs.


When four identical pieces are assembled, they form a nice sphere without flat spots. I posted the STL, plus the OpenSCAD source, at Thingiverse.