Saturday, December 25, 2010

Frivolous Christmas!

All the kids are grown up, so my folks host a white-elephant gift exchange where the whole family brings a lot of unmarked gifts and we take turns picking and unwrapping. Many of the gifts are genuinely desirable items (eg: Roomba, a camera, etc.) but we try to have silly, fun gifts warpped in imaginative or frivolous ways. For example, I bought Hamasuta the Happy Hamster from American Science and Surplus. This motorized "hamster" scrambles around in its clear plastic ball, much like a real hamster.


It looks rather like a coconut when the ball is wrapped in tissue paper, so I decided to put misleading hints on the box to suggest it really was a coconut.


I boxed it in one of the transparent Puzzle-box Gift Cubes I'd built on the SD300 so the coconut-shaped tissue would be visible, and added a humorous label to imply it's just a coconut.


Another example of the family's theme of fun & silliness is this box whose attached card includes a drawing of an "inflamed colon." The inset shows it's just a play on words, not something gross!


The family reassembled my gift-cube boxes with the colors mixed in a peppermint-candy color scheme, which fits the holiday theme. I wish I'd thought of that!

Tuesday, December 21, 2010

Puzzle-box Gift Cube


While using the SD300 to build some packaging I was inspired to build a puzzling group of six-piece boxes, which are held together solely by the interlocking tabs. I posted the files at at Thingiverse.


There are six parts to each cube, so I designed a variant that has six stacked parts that build all together at the same time.


The stacked version emerges as six parts, each separated by a single uncut layer of support material.


The boxes can be scaled down to smaller, thinner sizes. However the smallest box is impractically thin: with walls only 0.34mm thick, the parts are so flexible that it was almost impossible to assemble!


With effort I've managed to pack gifts inside some of the boxes, packing the excess space with tissue paper to disguise the contents. It's a novel presentation, and a bit puzzling to take apart.

Thursday, December 16, 2010

Sphericons


Chris K. Palmer modeled these novel Sphericons based on a mathematical discussion by Colin J. Roberts and Paul J. Roberts. His models included 4mm holes to accommodate widely-available 3.2mm magnets (like these) plus glue to cement them into place.

I scaled to model to 75% so the holes would be 3mm, slightly smaller than MagCraft N5NO566 disc magnets (3.2mm x 1.6mm). The resilient PVC material had sufficient 'flex' to permit the magnets to be forced into them.


Once the magnets were installed, I briefly soaked the parts in PVC welding solvent.


The solvent caused the PVC material to return to its square-ish shape around the magnets, securing them neatly in the holes.


The magnets allow the pieces to be paired to form round, solid objects. The pairing on the left can roll in a straight line, whereas the pair on the right can roll in a circular path.


But the same pieces can be paired so the curves look quite different. These pieces can be rolled along irregular paths.


Here's how the sphericon at left would roll. It follows a straight path with an occasional backstep.


And here's it's counterpart, at right in the previous picture. Its path is a bit more crooked.

Saturday, December 11, 2010

What's a Torzle?


George Bell drew my attention to a puzzling twisted torus artifact, described in detail by George Hart's web page where he shares pictures of various specimens and some history.

I built a large set, pictured above, and two smaller sets of parts. With the smaller parts I arranged the peeling cuts in a serpentine fashion, so the material peeled away in a long snake-like path.


I added splashes of color to the smaller parts by changing material during the build process.


Here the two batches of miniature parts are linked together serially.


Here's a comparison between the sizes of the large and small model batches.

Wednesday, December 8, 2010

Adding color with Painted interiors

Oskar's original Cooksey Tribute puzzles were opaque and colorful, but the replacement I built was transparent and colorless so I chose to paint the interior surface of the cylinder.


I poured bright acrylic paint inside the cylinder and gradually tipped it so the paint gradually flowed into all the nooks.


The finished cylinder is now brightly colored. The ring piece is still transparent so the user can see through it while trying to solve the maze.


The maze is fairly challenging because the opposite sides of the ring must navigate the maze on opposite sides of the cylinder at the same time. After solving the maze, the ring rests neatly at the base of the maze cylinder like this.

Tuesday, December 7, 2010

Cooksey Maze rings in regal style

I built a set of rings for the Cooksey Tribute D puzzle cylinders from my previous post. I put layers of black material at the top and bottom of each ring to match the puzzle cylinders by changing the PVC roll while the SD300 was building the model. The black accent gives it a nice touch.

I pulled the support material out of the holes first, just like I had with the cylinders.


After the holes were clear, I peeled away all the external support material to set the rings free.


I also treated the rings with Weld-On 2007 to improve the sidewall transparency. The ring at left is un-treated, the one at right has been treated.

Saturday, December 4, 2010

Deep, deep holes & Oskar's Cooksey Tribute D

I've previously mentioned Oskar van Deventer's Cooksey Tribute puzzles, a series of six puzzles inspired by a premise by Robert Cooksey. I encountered an apparent error in the puzzle while trying to solve the fourth in the series, Cooksey Tribute D.

Oskar confirmed there had been a minor error, and graciously allowed me to 'print' my own replacement copy. Due to the width of the PVC material I discovered I could build two puzzles for exactly the same material cost as one. In fact, I could build three for the price of one if I built two of them upside down.


As usual, the models emerged surrounded by a solid cocoon of support material, which needs to be peeled away. The Cooksey Tribute D puzzle is supposed to be a hollow cylinder, so I concentrated on pulling the material out of the holes before I peeled away the external material. I figured it'd be easier to handle this way.


The hollow interiors are really deep and really narrow, so I couldn't pull out the support material with my fingers. Before long the only tool that could reach into the hole was a probe I'd bought at my local hardware store.


As it turns out, the probe was the perfect tool for hooking into the X-shaped peeling cuts in the support material. This was an unusually challenging job because the holes were 11 cm deep, with 650 layers of support material. Luckily the probe made relatively quick progress, snagging several layers at a time.


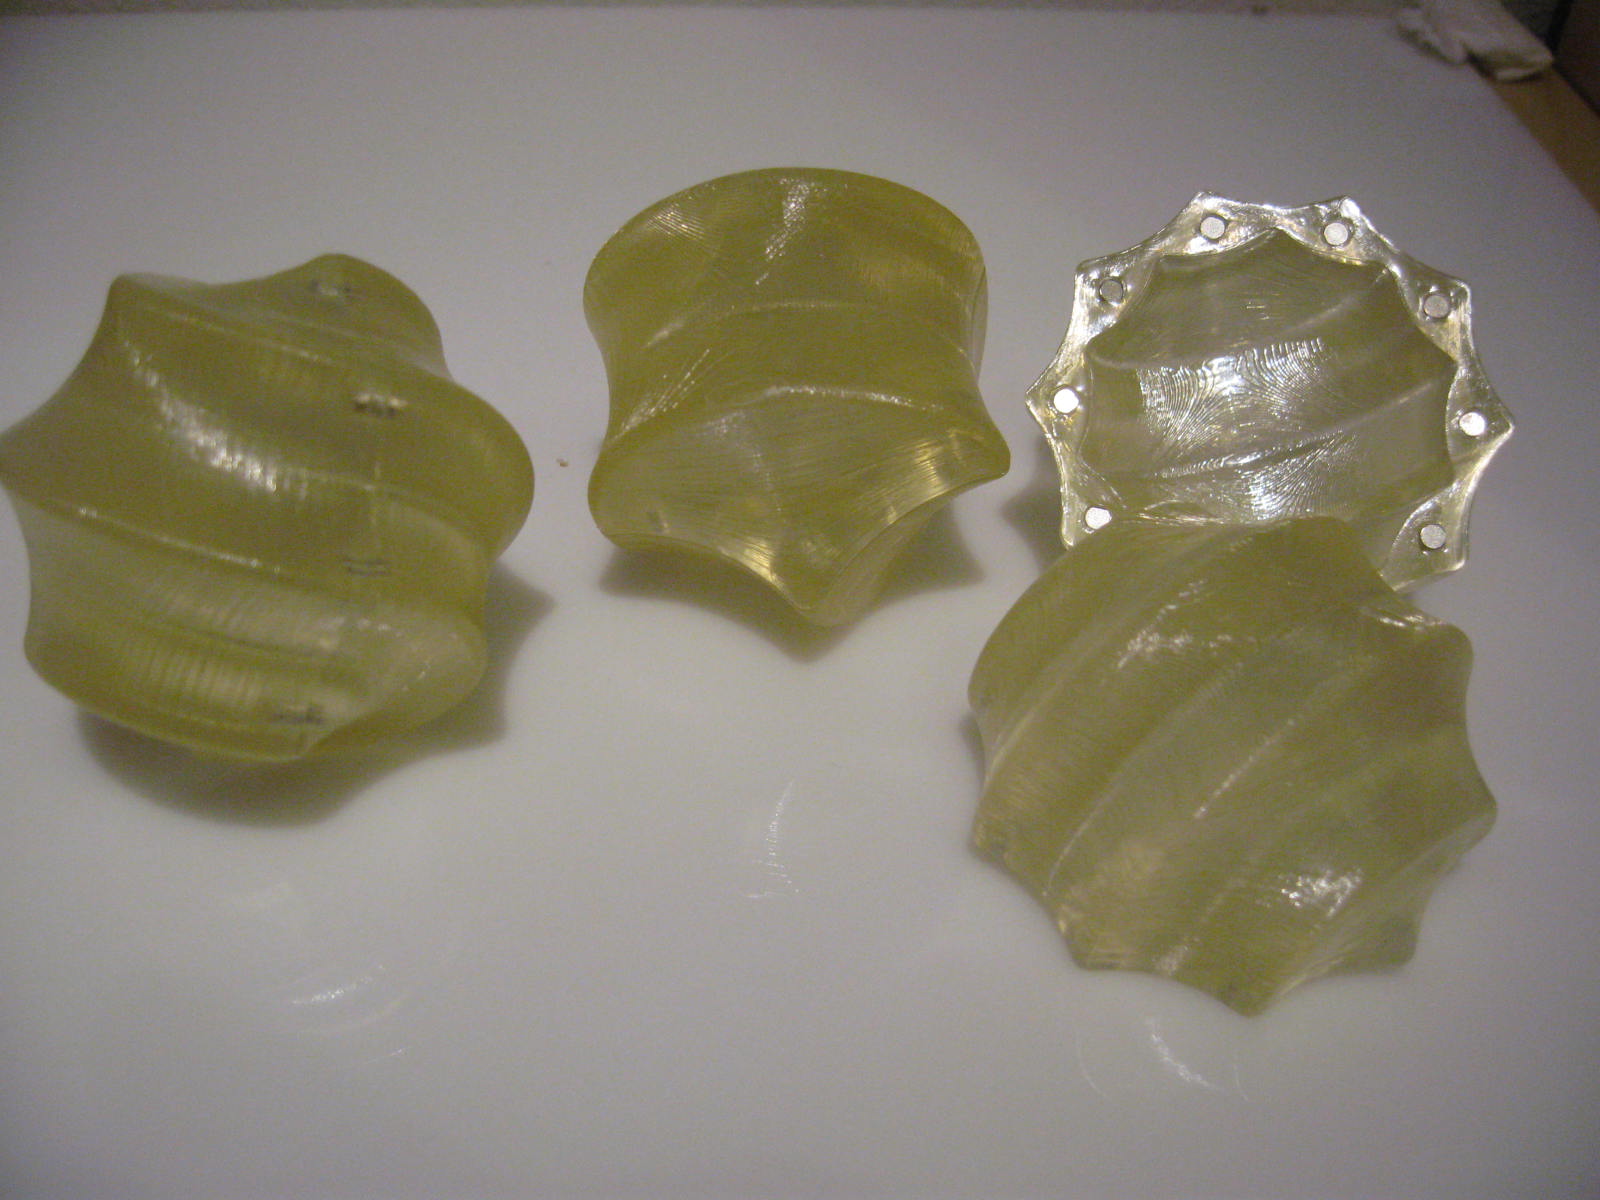
When the holes were finally cleared, the block looked like this. It reminds me of a part from my '75 Scirocco's exhaust system. (I don't really miss that car.)


With the hollow interiors cleared, I began the easy job of peeling away the external supports to free the models.

Wednesday, December 1, 2010

Rattleback twins

On Tuesday evening I saw a model of a Rattleback posted on Thingiverse. A traditional rattleback reverses direction when it's spun in a clockwise direction.

I made two models, one with the mesh reversed so it would respond to a counter-clockwise spin. Unfortunately the models were too 'tall' so they tended to tip over instead of spinning. A conventional rattleback, at lower-right, is only half as thick.


Since the model was just too thick, I used SDMove (the SD300 build software) to reduce it 45% in the Z axis and built another set. The new model, shown in red, was much more functional. But it had a flat spot due to the layers in the Z axis, so it wasn't as good as it could be.


So I built a third set using the same mesh, but oriented it to be built on its long edge. This exploited the SD300's excellent XY axis resolution to give smooth, curved contours. (FDM users employ the same strategy.)


Now I've got a left-handed and right-handed pair of rattlebacks, one which reverses clockwise and the other counterclockwise. They're still not optimized, but it's probably as good as it gets by just tweaking the mesh rather than re-contouring the source data.


I uploaded the modified meshes back to Thingiverse for the benefit of other users. Maybe someone will refine it further.