Friday, July 29, 2011

Yoshimoto experimentation

In July 2010 I saw plans on Thingiverse for building a kit that could be assembled into a Yoshomoto Cube, which is a type of folding puzzle. At that time I didn't have much experience with hinged models, so tried to adapt the concept.

I built a pair of experimental models that had hinges in each axis, some horizontal some vertical. This picture shows the two models before I'd finished removing all the support matieral; they look like they're attached, but I subsequently separated them.


One separated, the models could fold along the hinged connections. They were somewhat delicate (and tiny!) but each could be folded into many shapes just like a Yoshimoto cube.


Careful folding and unfolding would permit the model to change shape until it was inside-out from its starting position. The model on the left has been inverted, while the one on the right has been returned to its starting position.


Also like a Yoshimoto cube, the inverted and non-inverted models could be nested together in such a way that the combined pair could still be folded in all the same ways as before.


After a few hours' of use both models broke along one of their vertically-oriented hinges. I didn't continue with the project at that time...and now a year has passed by.

Recently I've gained a lot of experience building models with built-in living hinges, so I want to try experimenting with the Yoshimoto cube again soon.

Thursday, July 21, 2011

Flexible Burr...Cuburr?

Here's a picture of the current revision of my flexible burr puzzle. I've adopted a scheme with a distinct color for each type of part.


Assembling the parts depends heavily on the flexibility of the material, as the parts must be distorted to fit through each other.


It looks like a mess, but the puzzle is almost solved.


The last step is to fold the faces flat and hook the corners together so it holds a cube shape.


I carved the puzzle's name "Cuburr" into one of the faces in the 3D data, which caused the SD300 to trace it like line art.


That last trick exploits a limitation of the SD300's build process: in the STL data the letters were rendered as cutouts in flat wall, narrower than 1 mm. The SD300's XY plotter can cut with 0.1mm precision, but regions narrower than 1 mm are left bonded to the layer beneath; you have to pry them mechanically if you want them removed. For situations like this, it's a convenient way to emboss line art onto a flat surface.

Thursday, July 14, 2011

A flexible burr puzzle

(7 Feb 2013) I notice some debate about this post elsewhere online -- if you have questions feel free to leave a comment or contact me via the email address in my profile (right).

 
In 2002 George Miller devised an unusual puzzle titled Three Card Burr, made by laser cutting slots into three ordinary playing cards so they could be interlaced together. Interestingly, there's no practical way to disassemble the cards after the puzzle has been solved.


I was inspired by George Miller's Three Card Burr puzzle to create a more complex puzzle to exploit the SD300's ability to build sheet-like structures by creating a 3D model whose geometry can be mapped to the build material. I designed this flat model whose middle section is nominally 0.51mm thick, so it will be built using three thicknesses of 172-micron PVC sheet. The adjacent areas have two 0.34mm thick panels stacked one above the other and attached to the middle section by a 0.17mm thick strip to act as a hinge. The whole model is about 120mm x 70mm x 0.9 mm.


Here are my first 3 sample models, built in transparent material.


Like Three Card Burr assembling the puzzle begins by carefully interlacing the sheets together. It wasn't as difficult as I'd expected because the resiliency of the PVC material enabled me to flex the puzzle without tearing it.


Once the pieces are interlaced together, the hinged panels fold out and interlock at the corners to form a cube. This part was far more difficult than I'd expected because each corner depends upon its neighbors for stability, which meant each corner would come apart when I tried to assemble the next corner. I'd forgotten to allow for the thickness of the material in the corner dimensions, so the panels warped from excess tension.


Not bad for a first try, though. It proves the concept is basically sound; now I just have to adjust the dimensions and add something to make the corners more stable. Maybe a small tab or hook?

Tuesday, July 12, 2011

Eurofighter

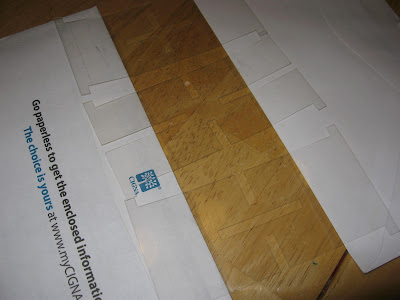
Solido provided a sample model that demonstrates an interesting way to exploit the flexible PVC material. The model prints out as a number of flat, semi-rigid parts with living hinges and flexible tabs.


Fold the parts at the hinges and pass the tabs through openings in another piece.


These tabs tuck securely into the underside of the wing piece, thereby snapping the pieces together.


When all the pieces are assembled in this way, you get a modernized plastic version of the good old 'paper airplanes' we used to make from paper.


This gives me some fresh ideas for foldable models!